|
Before respoking the hub and rims were primed. The priming allowed for minor pits and irregularities of the hub and rim to be filled in so that the wheel had a smoother appearance. Once the spokes are installed working on the hub or rim is next to impossible.
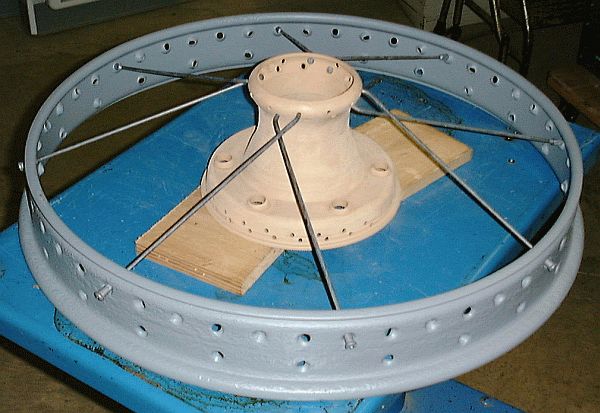
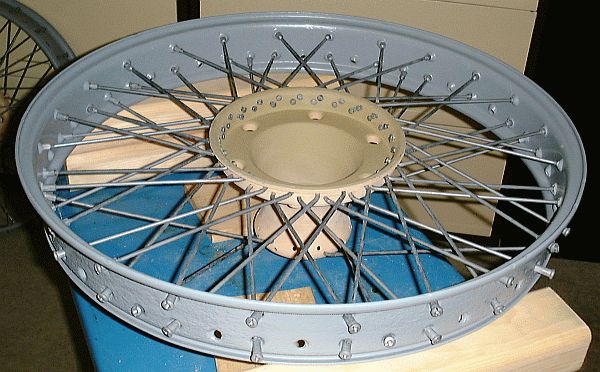
The first step to respoking the wheel is to place spokes at the 3, 6, 9, and 12 o'clock positions of the hub. The spokes are directed to their mating holes according to the Excel spreadsheet. The photograph above shows how the holes in the rim are formed to angle the ferrule in the direction of the spoke. Also note how all the spokes originate at the outer part of the hub and are routed to the outer ring of holes of the rim.
The rim and hub are flipped over and all the spokes between the rear of the hub and the front of the rim that travel in the same direction are inserted. The spoke is routed through the proper hole of the hub and directed toward the mating hole of the rim. The ferrule is inserted through the matching rim hole and tightened several turns on the spoke.
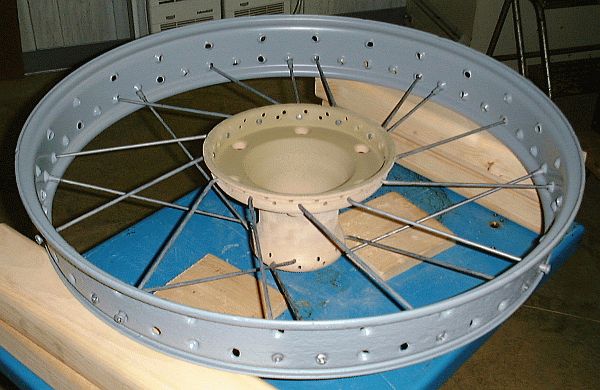
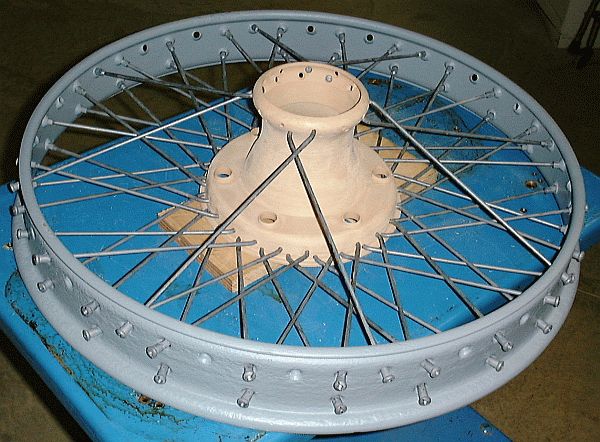
The next step is to insert the mating spokes between the rear of the hub and the front of the rim that match the spokes just inserted. Note how the spoking sequence inserts spokes such that they are being added in "layers". Two layers of spokes have been inserted in the above photograph, both layers routed from the inside of the center hub to the outside of the rim. The only holes in the outside row of rim holes are those for the spokes which originate at the outside of the hub.
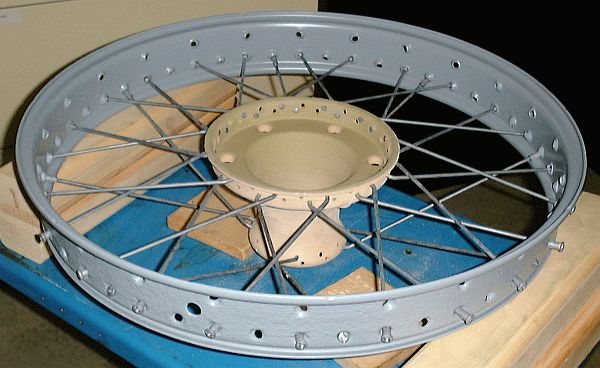
The next spoking step is to insert all the spokes between the rear of the hub to the rear ring of holes of the rim. This is the "next to top" layer of spokes at the inside of the wire wheel. All the spokes in this layer are routed in the same direction.
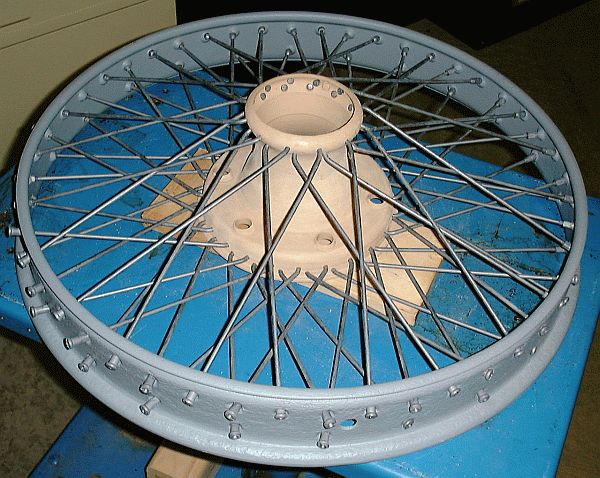
The final "layer" of spokes is in place in the photograph above. The ferrules are only tightened a couple of turns on each spoke so that the hub can be moved off-center of the rim to allow spokes to be inserted in the holes of the rim before the ferrule is screwed in place.
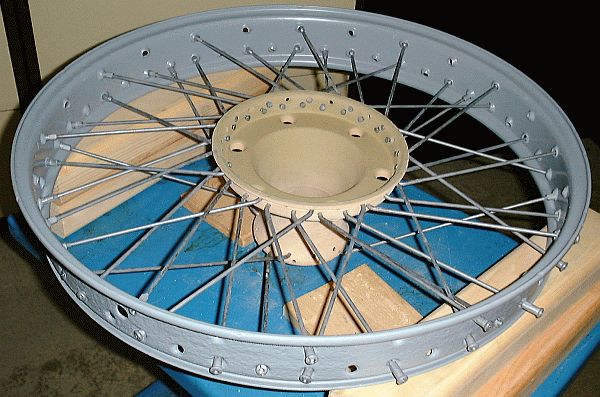
The spoked rim and hub are flipped back over so that the remaining spokes for the outside of the hub can be inserted. The hub is sitting on a 3/4" thick piece of wood to properly position the hub relative to the rim.
The wheel fully spoked. The next steps will be to remove each ferrule and coat the threads of the spoke and ferrule with Never-Seize; loosely tighten the ferrules so that the hub is reasonably centered in the rim; and final tightening of the spokes. |