|
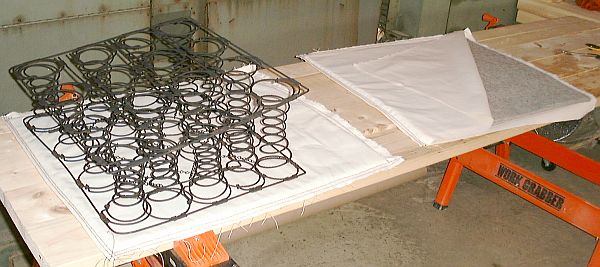
As the original jute or hemp padding could not be reused and replacement material was not available the used of 1/2" thick industrial felt padding was substituted. To protect the felt and keep it from shedding material as it rubbed against the spring coils each felt panel was encased in heavy duck cloth. At the right of the photo above is a felt pad sized for one of the front seats being covered in duck cloth. At the left is a repaired and painted front seat spring unit (driver's seat) resting on a finished felt panel. The felt panel would be formed over the wire edge of the spring frame and sewn in place. The purpose of wrapping the edge of the spring frame is to keep it from wearing through the leather seat cover by providing a larger surface area to the wire.
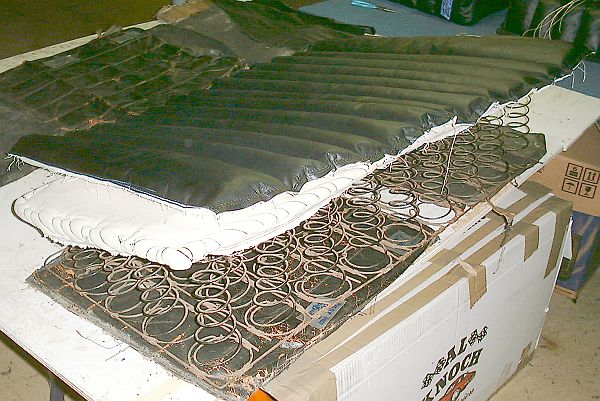
Pictured above is the rear seat cushion with the felt panel sewn in place. Resting on top of the seat is the horsehair stuffed leather seat cover in position for cutting the unstuffed leather side panels of the seat. Four leather panels form the two tapered sides and rear of the seat cushion while the horsehair stuffed panel runs across the top and down the front of the seat in one continuous piece. Sewing the stuffed seat panel to the side panels while also sewing a decorative round leather covered beading in place took the skilled talents of someone familiar with working with leather upholstery. Once the seat cushion was sewn up it was ready to be placed on the felt covered spring unit.
The seat cover was rough fitted to the seat to insure a good fit before it was permanently attached. To facilitate the fitting the spring was tied in a compressed state so that the cover would fit over the spring easier. The strings in the photograph above would be cut and pulled out as the bottom was sewn in place. Stanley originally sewed a piece of car top material to the underside of the seat however we found it nearly impossible to compress the seat springs and hold the assembly so that the top material could be stitched to the leather. Our solution was to cut a thin birch plywood panel resembling a picture frame slightly smaller than the size of the bottom of the spring unit. The leather was then glued and tacked to the plywood to hold it in place so that the leather was pulled taught on the seat. The car top material could then easily be sewn to the leather to give the appearance the seat had when it left the Stanley factory.
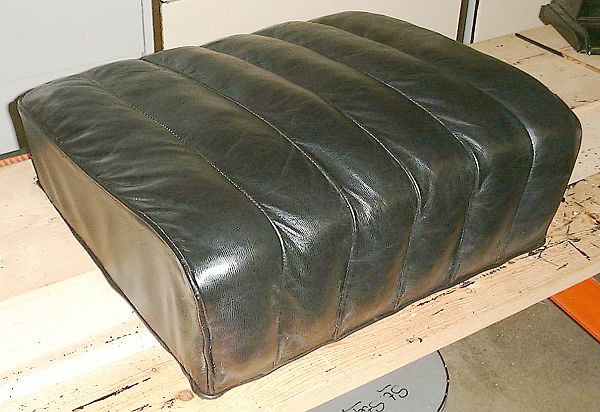
A finished seat cushion is pictured above awaiting positioning on the seat support box. This particular seat cushion is for the front passenger position. The seat pocket closest to the door for each front seat cushion is wider than the remaining pockets (the left most pocket is wider than all the rest on the seat cushion). The pockets of the seat cushion matched up with the pockets of the seat back and thus the seat cushion pockets at the center of each seat cushion were the same size as the seat back and remaining seat cushion pockets. The seat cushions had to be completed first so they could be positioned on the seat support boxes. This set the spacing of the pockets for seat back leather covering. With the seat cushion in position the seams between the pockets could be marked on the seat back duck cloth to insure proper alignment of the seams of the seat back with those of the seat cushion. |